How to Create an Apple ID on iPhone, iPad, and Laptop: A Step-by-Step Guide
Seamless Account Setup Across All Your Devices
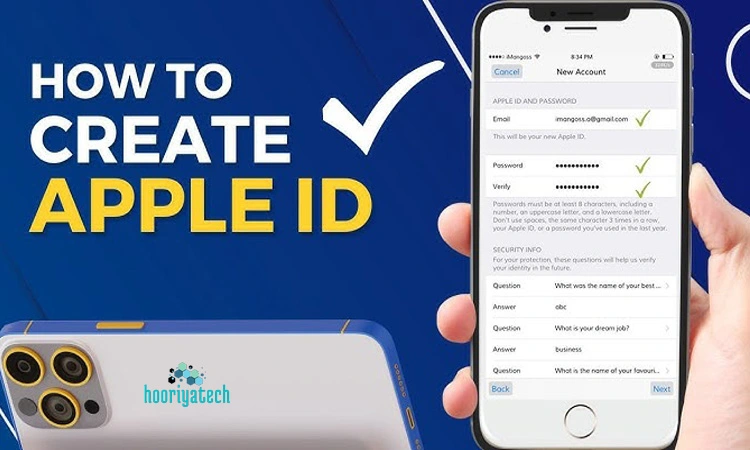
An Apple ID is essential for accessing Apple services like the App Store, iCloud, Apple Music, and more. Whether you own an iPhone, iPad, or want to set it up on your laptop, this guide will walk you through the step-by-step process of creating an Apple ID.
Why Do You Need an Apple ID?
Your Apple ID serves as your personal gateway to all Apple services. It allows you to:
- Download apps from the App Store
- Use iCloud to store and sync data
- Access Apple Music, iMessage, and FaceTime
- Track your device using Find My iPhone
- Make secure payments via Apple Pay
How to Create an Apple ID on iPhone or iPad
Creating an Apple ID on an iPhone or iPad is simple and takes just a few minutes.
Step 1: Open Settings
- Unlock your iPhone or iPad.
- Open the Settings app.
- Tap Sign in to your iPhone (if not already signed in).
Step 2: Start the Apple ID Creation Process
- Tap “Don’t have an Apple ID or forgot it?”
- Select Create Apple ID.
Step 3: Enter Personal Details
- Enter your first and last name.
- Provide your date of birth.
- Tap Next.
Step 4: Enter Your Email or Create an iCloud Email
- You can use an existing email address.
- Alternatively, choose “Get a free iCloud email” to create a new one.
Step 5: Set Up a Secure Password
- Enter a strong password (at least 8 characters, including uppercase, lowercase, and numbers).
- Confirm the password.
Step 6: Verify Your Phone Number
- Enter your mobile number.
- Choose Text Message (SMS) or Call to receive a verification code.
- Enter the 6-digit code received.
Step 7: Agree to Terms and Conditions
- Read the Apple Terms & Conditions.
- Tap Agree to proceed.
Step 8: Sign In to Your Apple ID
- Once your Apple ID is created, sign in to iCloud, App Store, and other services.
How to Create an Apple ID on a Laptop (Mac or Windows PC)
If you don’t have an iPhone or iPad, you can create an Apple ID from a Mac or Windows PC.
Step 1: Open Apple’s Website
- Open a web browser (Chrome, Safari, or Edge).
- Visit appleid.apple.com.
Step 2: Click on ‘Create Your Apple ID’
- Find the Create Your Apple ID button at the top.
Step 3: Fill in Your Details
- Enter your first name, last name, and country.
- Provide a valid email address.
- Create a strong password.
Step 4: Phone Number Verification
- Enter your mobile number.
- Choose to receive a verification code via SMS or call.
- Enter the 6-digit code to confirm your identity.
Step 5: Set Up Security Questions (Optional)
- Apple may ask you to choose security questions for account recovery.
Step 6: Agree to Apple’s Terms
- Read and accept the terms and conditions.
Step 7: Verify Your Email
- Open your email and look for Apple’s verification email.
- Click on the verification link to activate your Apple ID.
Troubleshooting: Common Issues While Creating an Apple ID
If you face any issues, here are some common solutions:
| Issue | Solution |
|---|---|
| Apple ID cannot be created at this time | Try again later or use a different email. |
| Verification code not received | Check spam folder or request a new code. |
| Email already in use | Use a different email or reset the old Apple ID. |
| Strong password required | Ensure your password includes a mix of uppercase, lowercase, numbers, and special characters. |
Final Thoughts
Creating an Apple ID is quick and easy, whether on an iPhone, iPad, or laptop. Once set up, it unlocks a world of Apple services, from the App Store to iCloud storage. Make sure to keep your Apple ID credentials safe and secure for a seamless Apple experience!